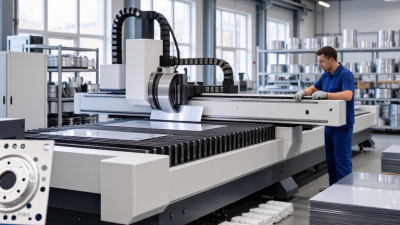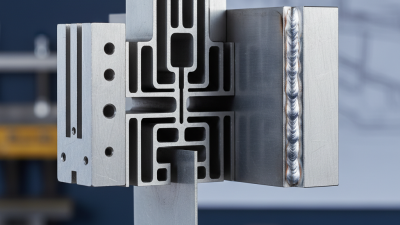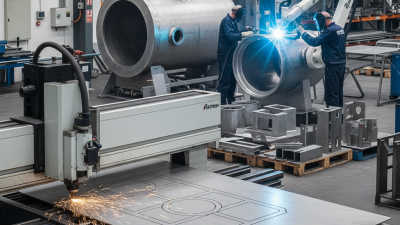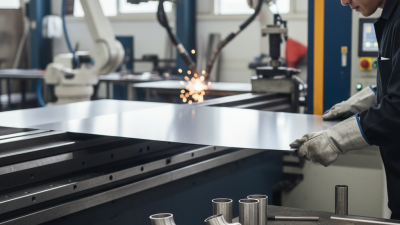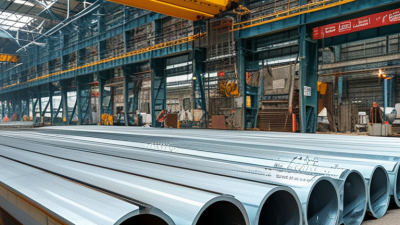
Custom aluminum fabrication turns aluminum stock into parts designed for specific dimensions, loads, and working conditions. A project might begin with a simple sketch for a machine guard or a detailed digital model for an equipment frame. The fabricator then selects an alloy and thickness, considering strength, weight, corrosion exposure, and how the part will be made. Small details matter. A sharp internal corner, for example, may need a radius to suit the cutting or bending process.
The work can involve cutting, machining, forming, welding, and finishing. Not every project needs every step. A flat panel may only require precise cutting and drilled holes, while a welded enclosure may need several formed sections and careful fit-up. Measurements and material certificates help confirm that the finished part matches the specification, though inspection requirements vary by application. That distinction is easy to overlook.
Good custom aluminum fabrication depends on clear communication between the customer, designer, and shop. Drawings should identify dimensions, tolerances, alloy, finish, and any critical connection points. When details are missing, a fabricator may need to ask questions or recommend a practical adjustment before production. Those conversations can feel like a delay. They often prevent costly rework. The process is not magic, and aluminum is not one-size-fits-all; choices that work for a lightweight cover may fail under vibration or repeated stress. Understanding how each fabrication stage affects the final part makes it easier to plan a design that is practical to build, inspect, and use.
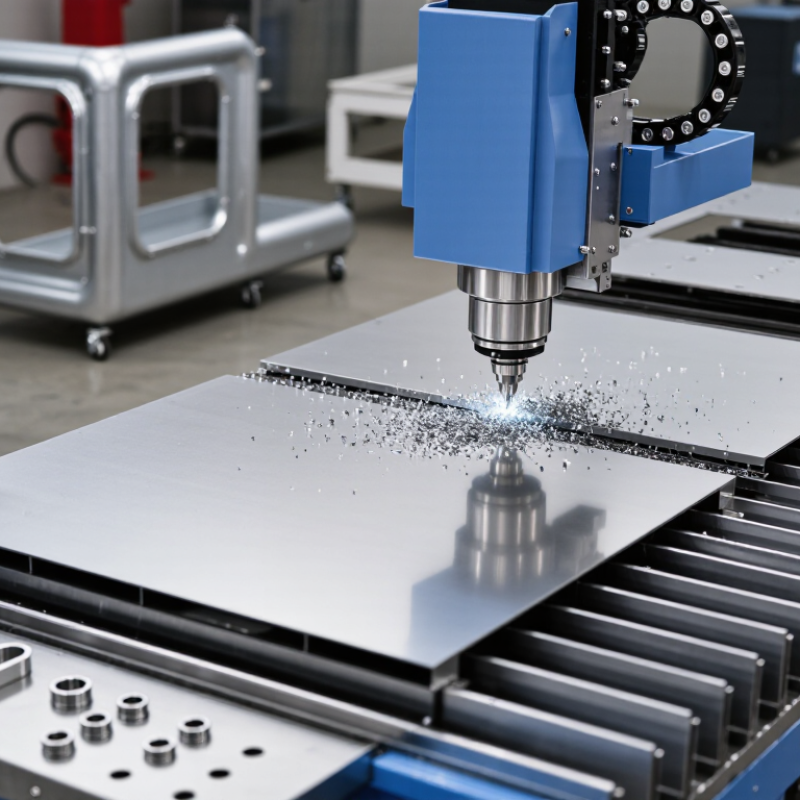
Custom aluminum fabrication turns standard aluminum stock into parts shaped for a specific job. The process begins with choosing an alloy, because composition affects strength, corrosion resistance, and how readily the metal can be formed or welded. For example, a part exposed to moisture may need different properties from a lightweight interior bracket. There is no single best alloy for every application.
Aluminum comes in practical forms, including sheet, plate, bar, tube, and extrusion. A fabricator may cut sheet into panels, bend it along a marked line, or machine an extrusion to fit a frame. The material’s density is about 2.70 g/cm³, roughly one-third that of steel. That makes aluminum useful when reducing weight matters, though a lighter part is not automatically strong enough; dimensions and alloy temper matter too.
Work typically moves from drawings and measurements to cutting, forming, joining, and inspection. Small differences can show up: a bend may spring back slightly, or a hole may need adjustment after assembly. These details deserve checking. A clear specification for dimensions, finish, and operating conditions helps guide the work, but real parts sometimes reveal assumptions that drawings missed.
6061-T6 is a common choice when a fabricated aluminum part needs useful strength without excessive weight. Its tensile strength is often cited at about 310 MPa, though the actual value depends on product form, thickness, and testing conditions. Treat that figure as a guide, not a guarantee. A drawing may look simple, but a thin plate and a thick extrusion can behave differently under load.
Temper matters as much as alloy. The T6 condition means the aluminum has been solution heat-treated and artificially aged. It provides strength and good machinability, making it suitable for brackets, frames, and equipment housings. During fabrication, however, tight bends can risk cracking, especially across the grain or near a sharp radius. A test bend on a sample can reveal problems before a full batch is cut. Small step. It is not wasted material.
Welding needs special attention. Heat can soften the area beside a weld, so the finished joint may not retain the base metal’s T6 strength. Designers may allow for this reduction, use mechanical fasteners, or specify post-weld heat treatment when practical. That last option can add cost and distortion, and it may not suit every assembly. The right choice depends on load, geometry, finish, and how the part will be made—not on the strength number alone.
Temper describes the heat-treatment and mechanical-processing condition of aluminum. These indicative values show why alloy and temper selection matters: 6061-T6 reaches about 310 MPa tensile strength. Actual properties vary with product form, thickness, and applicable specification; confirm the material certificate for design use.
Custom aluminum fabrication turns an engineered design into a part through cutting, forming, machining, and assembly. The work starts with a CAD model that defines dimensions, hole locations, and interfaces. Tolerances should match the function, not simply be made as tight as possible. A mounting hole may need close control, while a non-contacting edge can often allow more variation. Tighter tolerances can raise machining time and cost. They can also expose weaknesses in the design. Small details matter.
For extruded components, ASTM B221 covers aluminum and aluminum-alloy extruded bars, rods, wire, profiles, and tubes. The specified alloy and temper affect strength and formability, so confirm they suit the part’s job. A profile that looks sturdy may still twist under an uneven load. Engineers should define load cases, including direction, magnitude, support points, and repeated use. Then they can check likely stress areas, such as thin walls around fasteners. Real assemblies are not always as neat as drawings suggest.
Tips: Share the intended load, mating-part dimensions, and operating conditions with the fabricator. Ask which dimensions need tight tolerances and where inspection will focus. Leave room for a prototype review; a clearance that seemed generous in CAD may feel surprisingly small once parts are assembled.
Custom aluminum fabrication turns alloy stock into parts shaped for a specific load, fit, and finish. The International Aluminium Institute reported global primary aluminum production of about 70.6 million tonnes in 2023, showing the scale of this widely used material. Scale does not guarantee a good part. Alloy, temper, and thickness must match the job.
Fabrication starts with cutting sheet, plate, or extrusion to size. A saw or laser makes the rough blank; CNC machining then drills holes, mills slots, and finishes critical faces. Tool paths need to account for aluminum’s softness and heat buildup, or edges may burr and dimensions drift. Small details matter.
Next, a press brake bends the blank around a punch and die. Springback can alter the final angle, so operators often test a sample and adjust the bend allowance. Welding joins pieces where fasteners or one-piece machining are unsuitable. Clean surfaces and controlled heat help limit porosity and distortion, though neither disappears by wishful thinking. Inspect dimensions, welds, and fit before finishing. A careful sequence saves rework, but prototypes still reveal assumptions that drawings missed.
After fabrication, inspection checks whether the part matches its drawing and will work in its intended setting. A conductivity figure near 205 W/m·K may suit some aluminum alloys, but it is not universal. Alloy, temper, and test conditions can change the result. Confirm the material specification rather than relying on a generic value. Measure critical dimensions with calibrated tools, and inspect edges for burrs, dents, or cracks. Small flaws matter.
Anodizing can improve corrosion and wear resistance while creating a consistent surface finish. It also changes the surface’s electrical behavior: the oxide layer is generally insulating, unlike the conductive aluminum beneath it. Mask threads, grounding points, or contact areas when the design requires bare metal. Check coating coverage, thickness, and color under steady light. A neat appearance helps, but it does not prove the coating is sound.
Tips: Ask for inspection records, material certificates, and coating measurements for critical parts. Verify that the measurement method fits the requirement. A quick visual check can miss thin spots, and even careful processes have variation. That is worth acknowledging. For heat-transfer parts, test thermal performance in the actual assembly when practical; conductivity alone cannot predict the whole system’s behavior.
| Stage or Property | What It Involves | Typical Data or Check | Why It Matters |
|---|---|---|---|
| Material selection | Selecting an aluminum grade and temper to suit strength, formability, corrosion resistance, and finishing needs. | Common fabrication choices include 5052 sheet for formability and corrosion resistance, and 6061 for versatile structural applications. | The alloy and temper affect how the part cuts, bends, machines, and responds to finishing. |
| Thermal conductivity | Checking whether the material can transfer heat as required by the design. | About 205 W/m·K is a commonly cited approximate value for pure aluminum near room temperature. Aluminum alloys generally have different, often lower, values. | Conductivity is relevant to heat spreaders, housings, and thermal-management components; the specific alloy should be verified for critical designs. |
| Cutting and forming | Producing the blank by processes such as sawing, laser cutting, waterjet cutting, punching, or machining, then forming it if needed. | Cutting method and bend details are selected according to thickness, geometry, edge requirements, and alloy temper. | Process choice influences edge quality, achievable geometry, and the risk of distortion or cracking. |
| Dimensional inspection | Comparing critical dimensions and features with the approved drawing or model. | Typical tools include calipers, micrometers, height gauges, and coordinate-measuring equipment. Acceptance limits come from the drawing or agreed specification. | Using the specified tolerances avoids assuming one universal tolerance for every fabrication process or part. |
| Surface preparation | Removing contaminants and preparing the aluminum surface before a conversion coating, anodizing, or other finish. | Cleaning and pretreatment steps are chosen for the alloy, required appearance, and finishing process. | Consistent preparation helps support coating adhesion and a more uniform finish. |
| Type II anodizing | Electrochemically forming an oxide layer on the aluminum surface; the coating can be clear or dyed. | Decorative sulfuric-acid anodizing commonly uses coating thicknesses in the approximate 5–25 µm range; the specified process determines the actual target. | Anodizing can improve corrosion and wear resistance while retaining a metallic appearance. |
| Hardcoat anodizing | Applying a thicker, harder anodic coating, commonly used where greater wear resistance is required. | Hardcoat thickness is often specified at approximately 25–100 µm, depending on the application and process. | Thicker coatings can affect dimensions and fit, so critical features may require allowances or masking. |
| Visual and finish checks | Inspecting the part for visible defects and verifying finish requirements. | Checks may cover scratches, dents, burrs, color uniformity, coverage, and coating thickness where specified. | Documented acceptance criteria make the inspection repeatable and help distinguish cosmetic requirements from functional ones. |
| Final verification | Confirming that the completed part matches the drawing, finish specification, and order requirements. | Records may include measured dimensions, material or coating certificates when requested, and inspection results. | A final check helps ensure the fabricated and finished component is ready for assembly or use. |